Husarnet Dashboard web app manual/documentation
This manual describes how to use Husarnet Dashboard web app which public version is available under this link: https://app.husarnet.com .
Husarnet Dashboard allows you to:
- Create and remove Husarnet networks (your device can be in one or multiple Husarnet networks at the same time).
- Removing devices or adding them to your networks in a few ways (websetup, join code, QR code, already linked to your account)
- Share your Husarnet networks to other users with configurable access rights.
- Check your devices' information (IPv6 address, online/offline status, who is the owner etc.)
- in commercial plans accessing your billing data and managing subscriptions.
- accessing your Dashboard API tokens (available only in some of commercial plans)
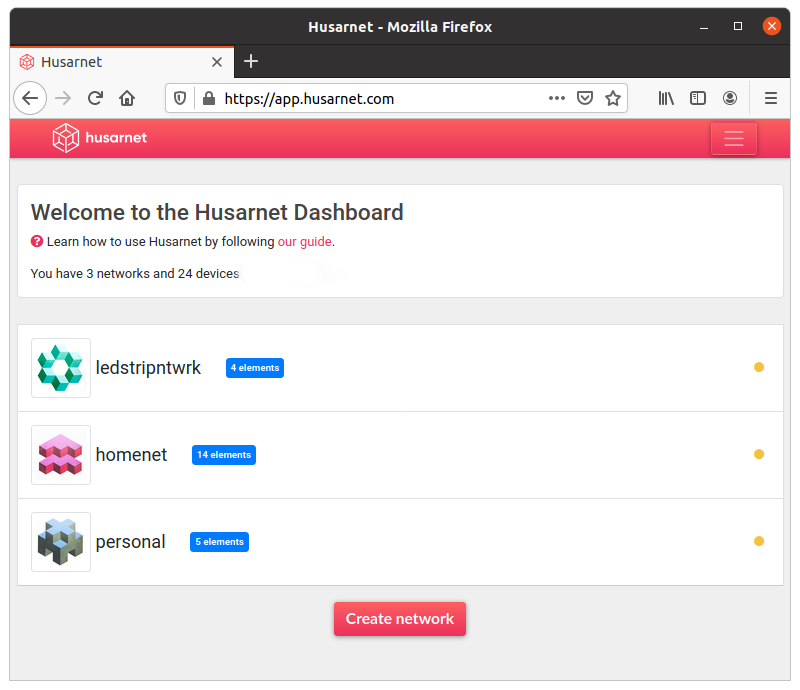
Create a network
To create a new Husarnet network, log into Husarnet Dashboard main panel, click [Create network] button, in the pop-up choose a name and click [Create] button. Newly created, empty network panel will open that looks like this:
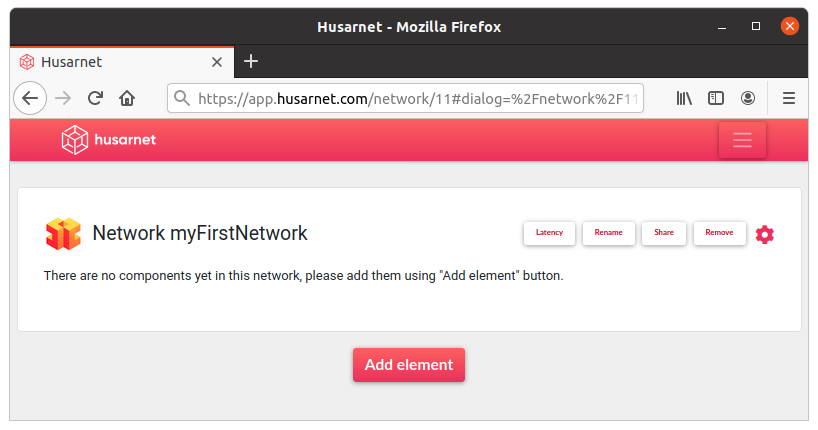
You can change network view setting by clicking a [red cog icon] on the right where you will find the following options:
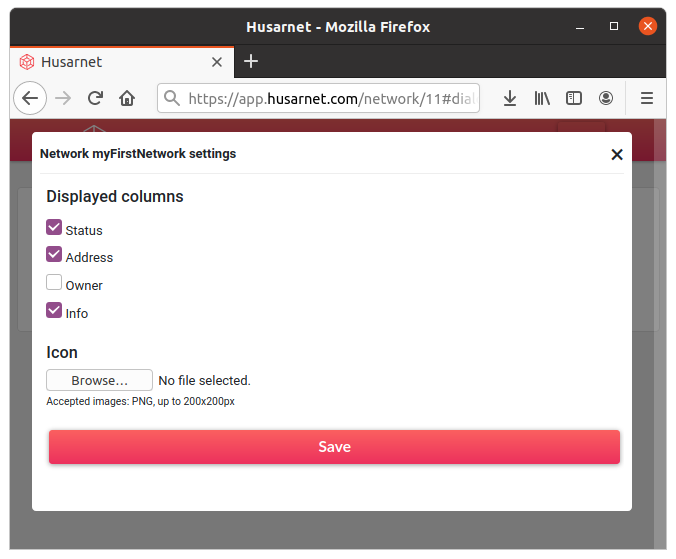
You can choose which information you would like to display in the specific network panel:
- Status of each device (online/offline)
- Address - Husarnet IPv6 address of each device
- Owner of the specific device in the network. Because you can share your network to other users, thanks to that column you will see which user is the owner of the given device.
- Info some extra information about the specific device like
ROS masteror otpion to access aWeb UIif you configure it.
You can also change a default icon that allows you to easily distinguish your specific network from others. Remember to use only 200x200px PNG images here!!!.
Add devices to existing network
After you click [Add element] button you will see a pop-up looking like this:
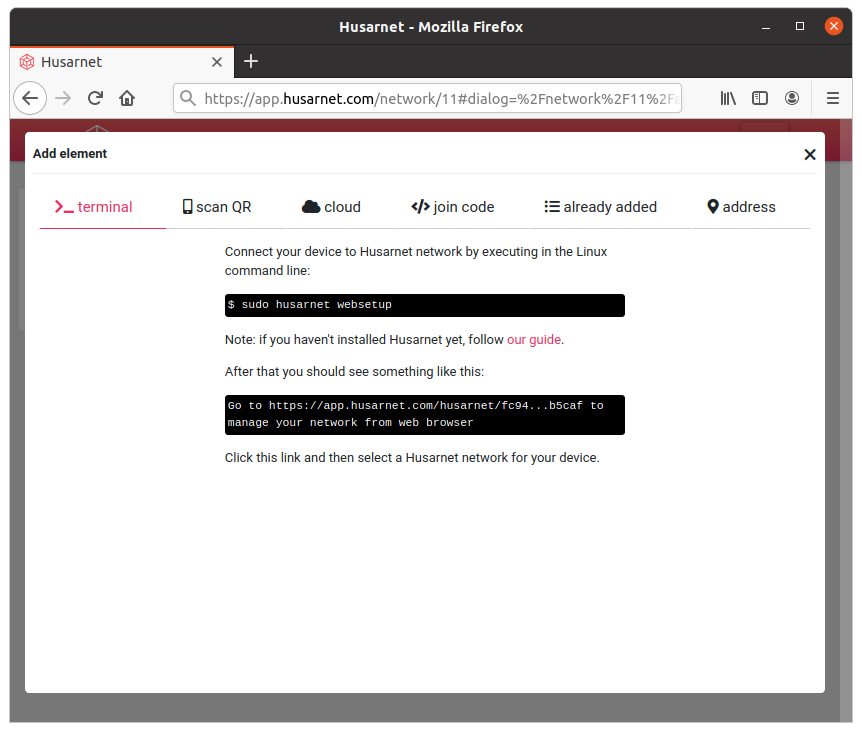
Now you can add new devices in a few ways:
[join code tab]
This is a second, next to websetup, way to connect your device to Husarnet network using a Linux command line, that is also described in the first start guide for Linux. If you have many devices that you want to connect to your Husarnet network at once, or you do not have access to a web browser this method is the most convenient.
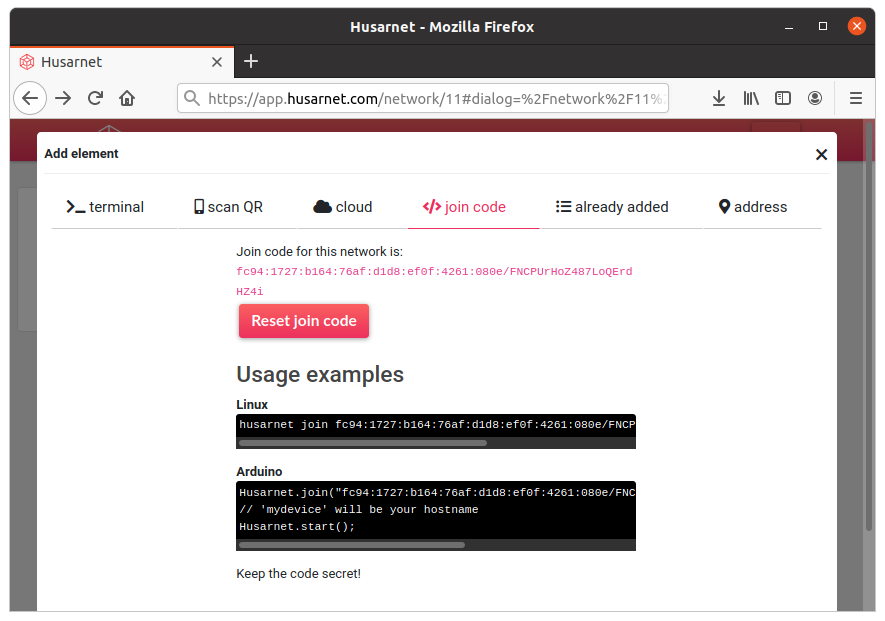
Keep your join code secret! If you consider your join code might be compromised, click [Reset join code] button in a [join code] tab. Devices that already were connected using previous join code, still will be in you Husarnet networks, however previous join code will not be valid for adding new devices to your networks.
Usage example:
husarnet join fc94:xxxx:xxxx:xxxx:xxxx:xxxx:xxxx:932a/xxxxxxxxxxxxxxxxxxxxxx mydevhostname
Output example:
johny@johnylaptop:~$ sudo husarnet join fc94:xxxx:xxxx:xxxx:xxxx:xxxx:xxxx:932a/xxxxxxxxxxxxxxxxxxxxxx johnylaptop
[sudo] password for johny:
[16699016] joining...
[16701017] joining...
johny@johnylaptop:~$
[already added tab]
If you already have connected your device to Husarnet Dashboard you can add it to other networks this way. One device could be in one or multiple networks at once.
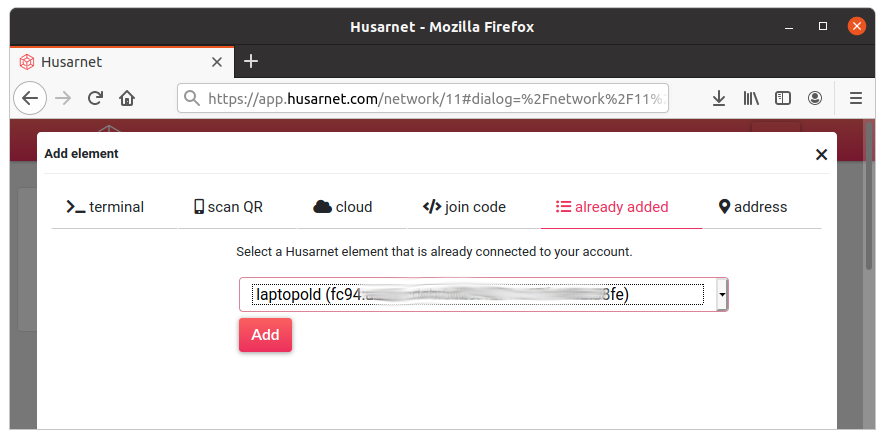
All your devices already connected to your account are available under the dropdown menu. Just select device you would like to add to the given network and click [Add] button
Sharing networks to other users
To share a network you need at first to open that network and click [Share] button in the top panel. You will see a new pop-up where you can place account names (email addresses used during registration on Husarnet Dashboard) of users to whom you want to share your network.
Below, there is a list of users that already have access to your network. You can remove access to given users by clicking [X] button that is located next to each email.
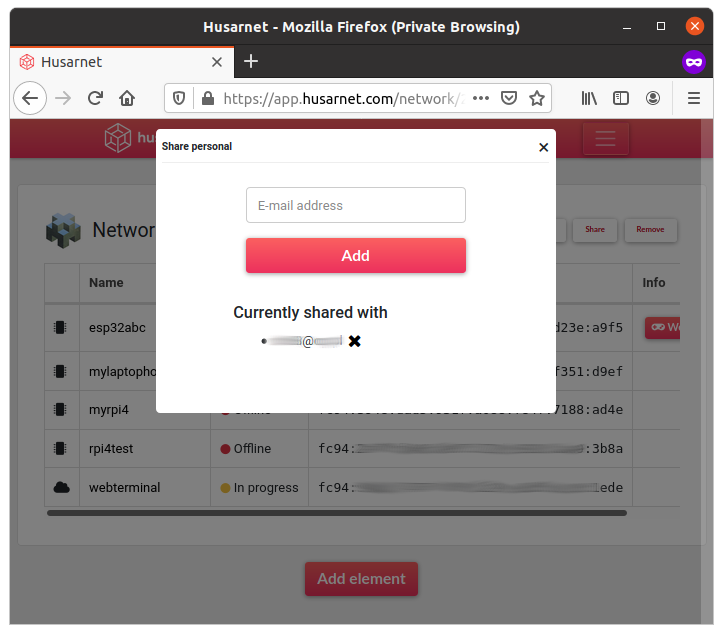
When you share a network to a specific user, this user will see your invitation as pending:
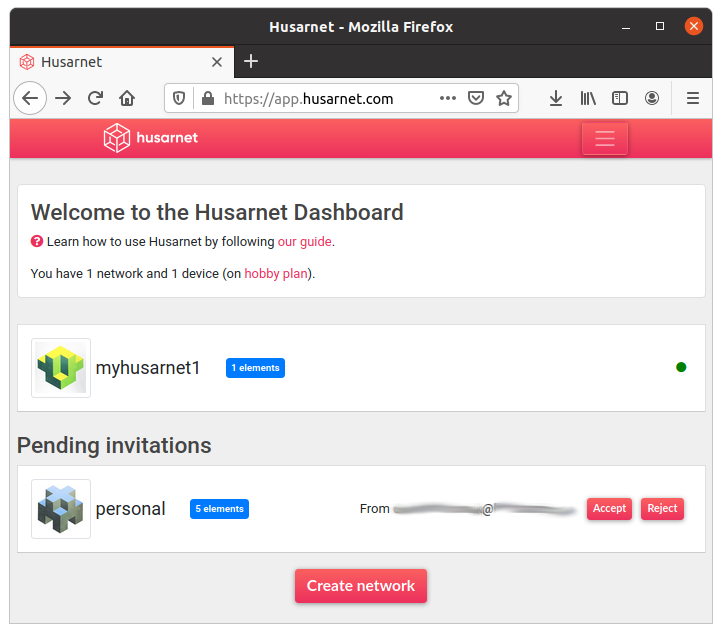
After clicking [Accept] button this networks will be listed next to other networks of the user. If the user no longer wants to have access to a network somebody shared, he needs to open a shared network, and click a [Unshare] button.