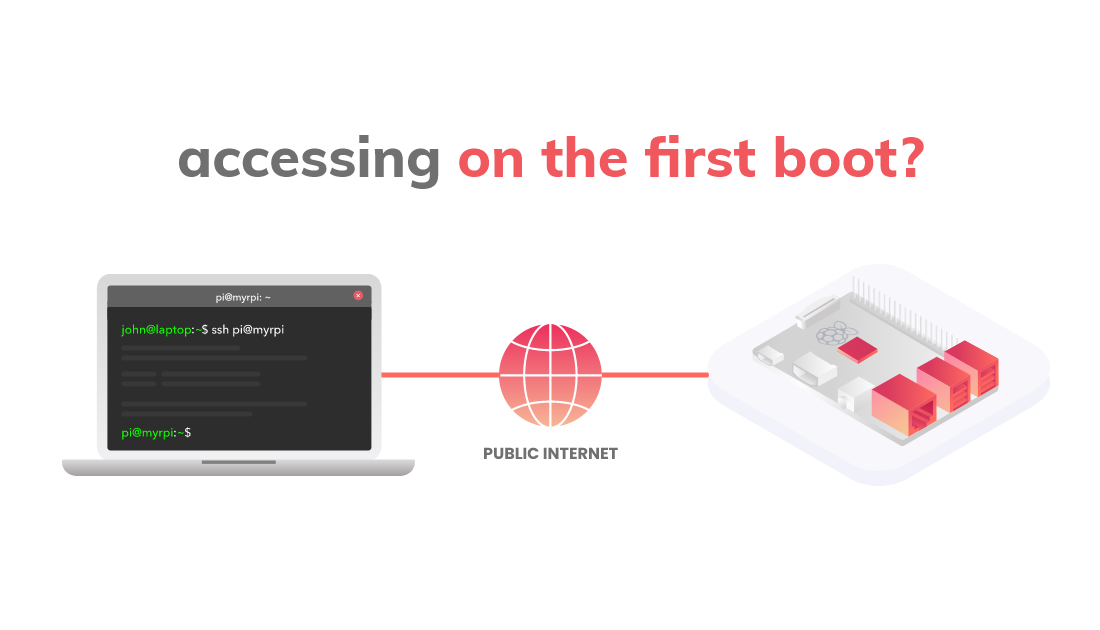
In one of the previous blog posts I presented how to configure a Raspberry Pi to access it from anywhere without public IP or port forwarding on your router. It's quite easy, but still you need to make a few steps manually, like providing your Wi-Fi credentials, installing the Husarnet VPN Client (recently open sourced), and typing commands in the terminal to connect the board to your Husarnet VPN network.
If you have to confiture a single Raspberry Pi that might be a fun way of spending a time, but what if you would like to connect a dozen(s) of them? My math teacher in elementary school often said that "a good mathematician should be lazy". That's also a true sentence for engineers - if you can automate something that is repetitive and boring - do it.
In this blog post I'll show you how to create your own, customized system image to be burned on the SD card of your Pi, so that after you power on your board, it will be available via SSH over the Internet on the 1st boot! In the same way you can generate hundreds of similar images, without wasting your time to manually setup each board.

